 |
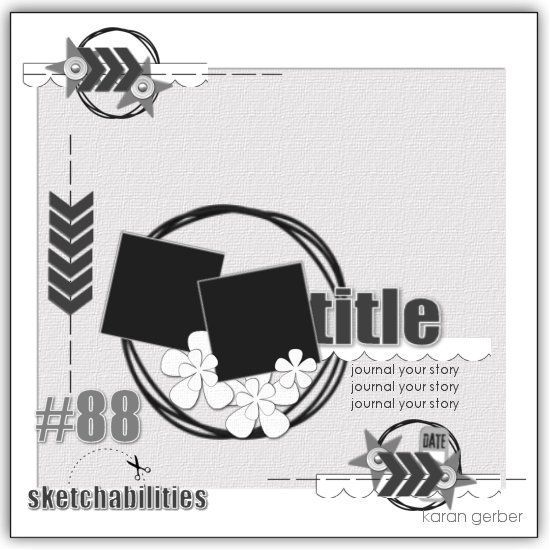
| http://sketchabilities.blogspot.co.uk/ |
I hope you visit all the designers blogs for lots of inspiration.
These photos are from our day out Prom Dress shopping.
This is how I made my layout.
I matted my photos in pink and distressed the edges.
I cut a circle from cardboard and painted it with pink and gold acrylic paint.
I then cut down some pretty brown paper to 11x11 inches and distressed the edges.
I cut down a pretty pink paper to 10.5 x 10.5 inches and distressed the edges.
I adhered these two layers onto my background cardstock.
I added my cardboard circle.
I then used some hot glue to attach my tulle ruffle and pearl strip all around the edge of the circle.
I attached my matted photos.
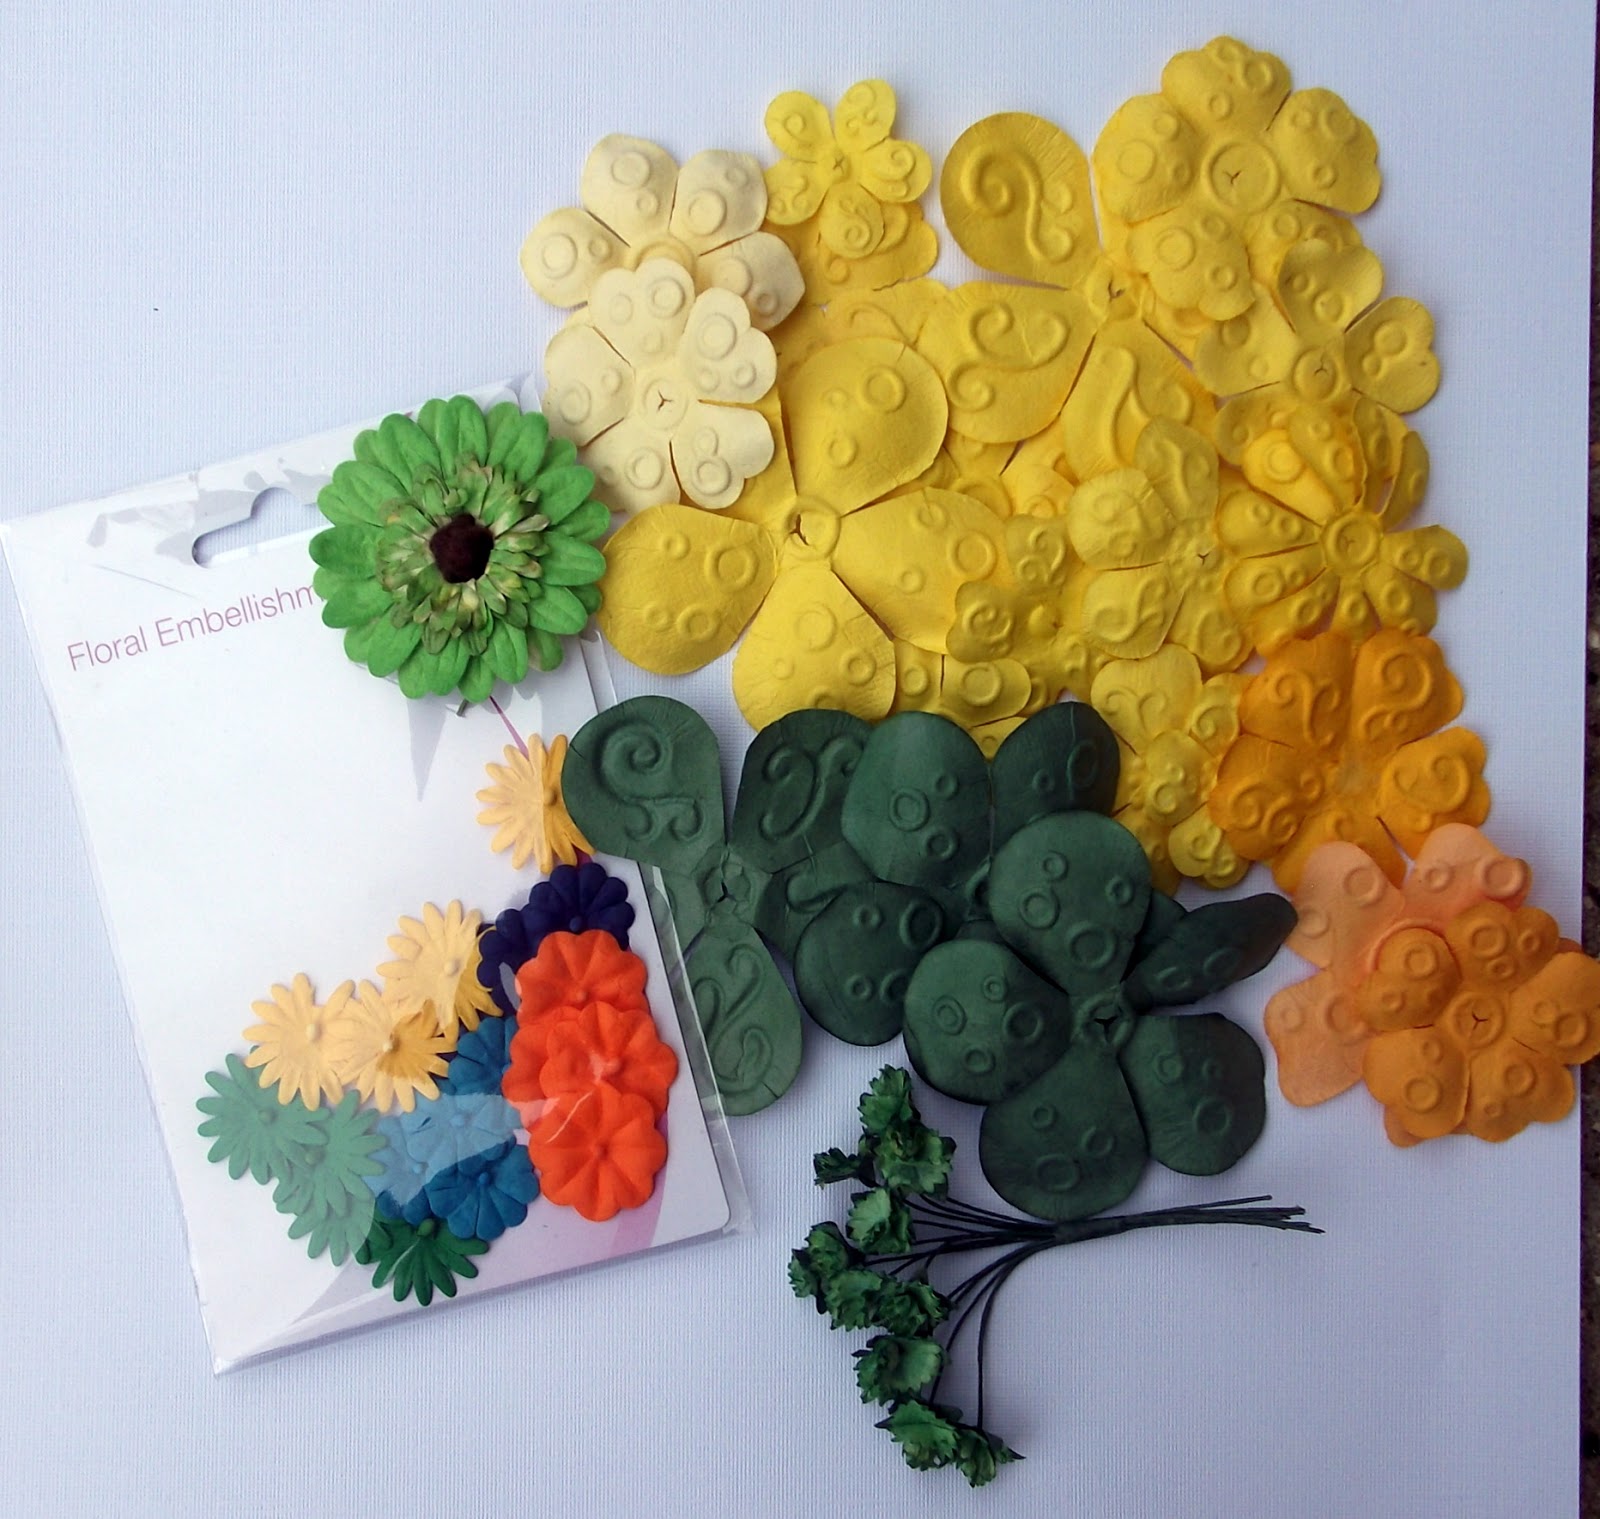
I made lots of pink flowers from mulberry paper.
See tutorial http://theprettypaperpatisserie.blogspot.co.uk/2013/03/hand-made-flowers-tutorial.html .
Then I made a concertina pink flower.
I made a small pink stick/hat pin from glass beads.
I added some lace and glued some flat back pearls across the centre.
I added my flowers, leaves and some cream funky fibres.
I added some mini roses and the beaded pin.
I then found a little journaling box that I folded in half to put some journaling inside.
I painted some texture paste onto my flowers to soften them a little and stamped the two opposite corners and added some more mini roses.
Last but not least I added my title.
I hope you like it and give it a go.
Happy scrapping everyone and enjoy the reveal.
Scrappy stash
Plain cream cardstock
Pretty papers - Basic grey
Cardboard
Pink and gold acrylic paint
Tulle ruffle
Pearl strip
Pink glass beaded pin
Websters pages alphas
Mulberry paper for the flowers
Mini green leaves
Mini roses
Flat back pearls
Cream lace
Journaling box
Wool funky fibres
Pretty stamp and brown ink
Texture paste
Tim Holtz concertina flower die.
If you would like to win a packet of my mulberry flowers in pink, just become a follower, leave me a comment to say so, and I will pick a winner from a hat at the end of the challenge.
BYE FOR NOW