
Hi ladies, welcome to my blog and the STUCK ON U SKETCHES DESIGN TEAM REVEAL
 |
| http://stuckonusketches.blogspot.co.uk/ |
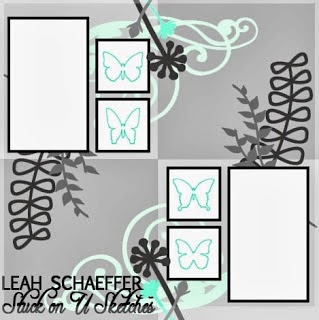
HERES HOW
Rip around a piece of pink cardstock and adhere to a pretty background paper.
Matt photos in a soft grey card.
Take a script stencil/mask and some texture paste and add to layout in two places. Allow to dry.
Add photos.
Add layers using white doilies and music book paper, ink the edges.
Adhere to layout.
Start to decorate with flowers, butterflies, swirl and branches.
Add title and a journaling block.
SCRAPPY STASH
Pretty background paper
Plain cardstock
Music book paper
White doily
Homemade texture paste http://theprettypaperpatisserie.blogspot.co.uk/2013/04/homemade-texture-past.html
Prima script mask
Tim Holtz swirl die using corrugated cardboard
Sixxix sizzlits branch die
Butterflies http://www.pinterest.com/caroleanne345/butterflies/
Beaded pins http://theprettypaperpatisserie.blogspot.co.uk/2012/06/hand-made-stick-pins.html
Assorted flowers
Hand made flowers http://theprettypaperpatisserie.blogspot.co.uk/2013/03/hand-made-flowers-tutorial.html
Journaling tag
Fuzzy fibres in white
Brown chalk ink.
MANY THANKS FOR VISITING MY BLOG AND LEAVING ME LOVELY COMMENTS.
PLEASE COME BACK AGAIN SOON.
BYE FOR NOW.


